Student Upload
This page describes how a student can upload video or audio content to Mediacentral and then share with others.
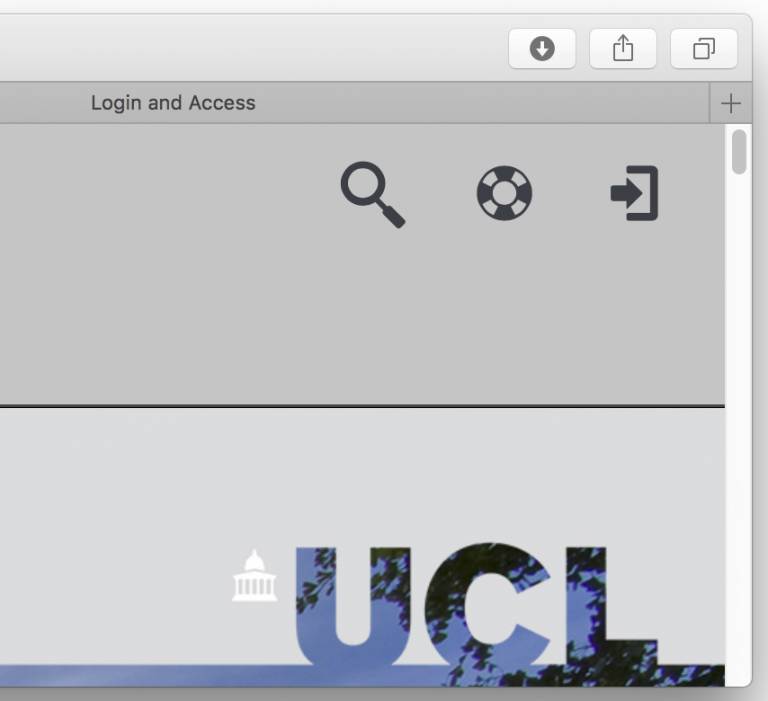
For full access, and to upload, you must log in to Mediacentral to use any of the additional library features, other than view. You login automatically by clicking the login icon at the top right of the page. The login screen prompts for your UCL user name and password. This is the same password you use for accessing other UCL IT systems like Moodle.
To login use the ➜ icon on the right-hand side of the banner :
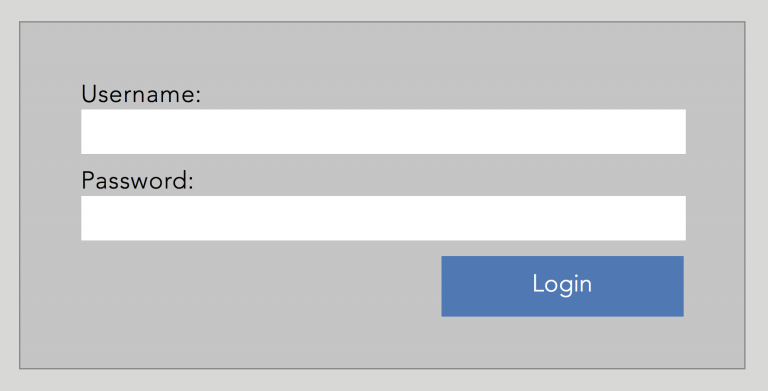
This opens the login screen and prompts for your UCL user name and password, please enter them here. You should note that login can take up to 20 seconds, please be patient.
Uploading a File
Ensure your file is no bigger than 5Gb, if you are unsure or need to downsize your file, please inform the team via the MyServices Portal.
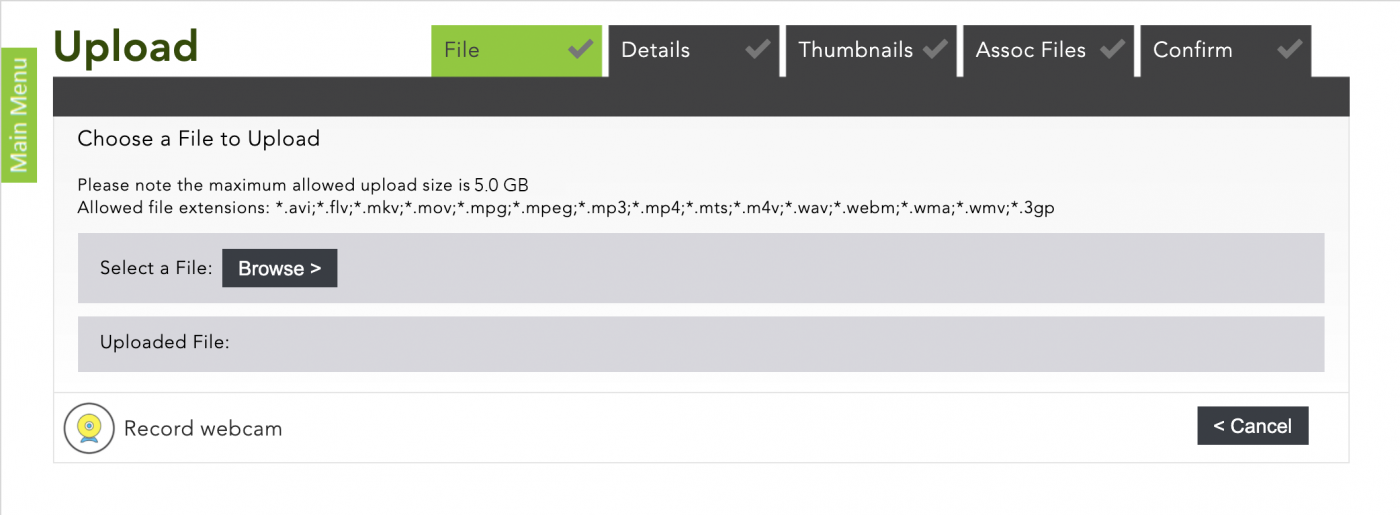
- Click on Upload on the site toolbar, that's the big arrow at the top of the page.
- When a new window opens, click Browse to select the file from your computer.
- Please be aware that content recorded on some older mobile devices produce a file that is incompatible with modern browsers, so always ensure your file is one of the supported versions. The popular allowable file types are .mov, mp4 or .wmv
- When you have added your file, a progress bar appears while the media uploads.
- Once the upload completes to 100%, click Next to enter the media details.
Details and Required fields
On the details screen in the upload wizard, you need to add information about the media file:
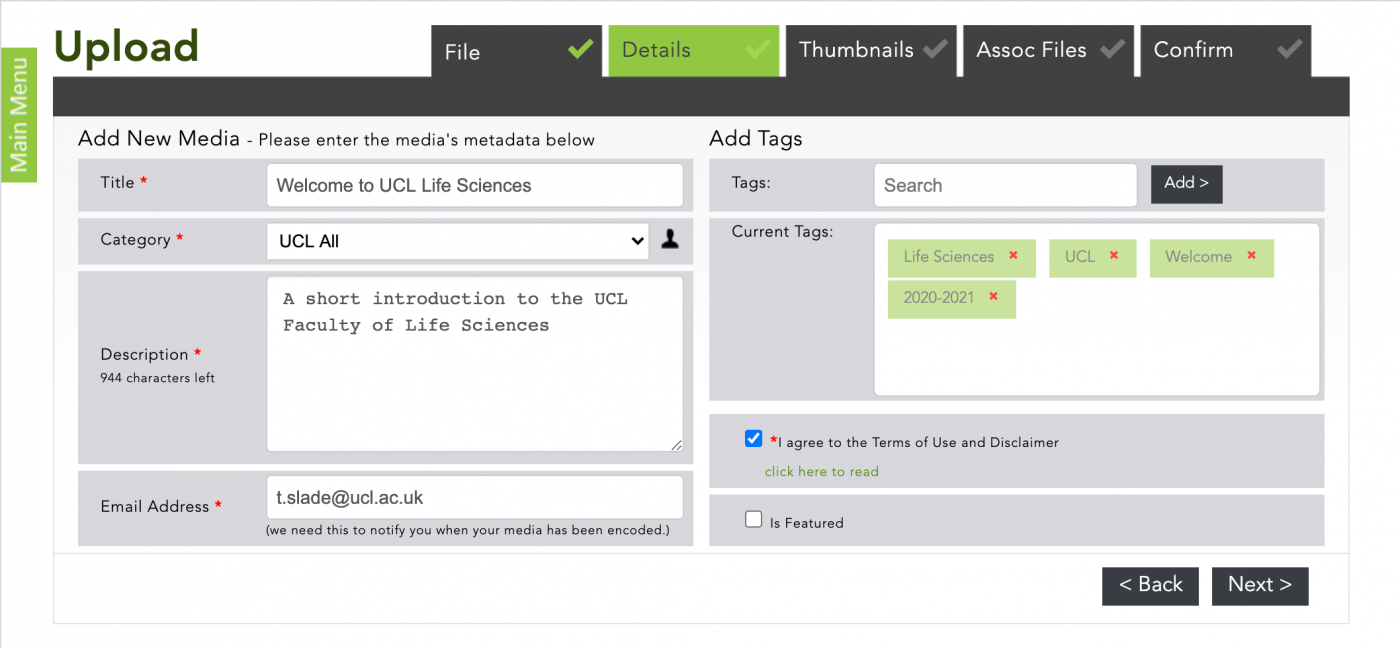
The required and mandatory fields are:
- Title
- Category
- Description
- Email address
- Disclaimer checkbox, here you agree to the Terms of Use.
Although adding Tags is not mandatory, we suggest that you add some information which, relates to your video, this makes it easier for users to search and find your video. If you add a unique tag, this will allow a user to see all your media files.
For students, a tutor may suggest a using particular unique tag for your work, this method is useful for students when they are submitting assessed work, e.g. Module Name/Year.
Category
This function allows levels of access. Mediacentral is set up for users to share their content and to promote UCL to the wider world. However, for student uploads that are going to be assessed we recommend that you use:
- The Personal (Public) category hides your video from anyone else in the Media central portal, but you can Share the link with others to view.
- For students, this works really well if you wish to share your media with a tutor, especially if your work is going to be assessed, or if you are not ready to go to full Public Access.
- You may see a unique category e.g. Institute of Education when you are uploading or editing your content. Please do not choose these, unless you have been advised to do so, they are there for the content which has been previously defined as sensitive, or has some specific restriction to that Faculty or Department.
Thumbnails
The thumbnails screen presents eight thumbnails extracted from a video.
- Click a thumbnail to use it as the media preview on the library home page.
- If there is a category thumbnail, you can check that box to use that generic thumbnail instead.
- Alternatively, you can add your own thumbnail image. Click on the Browse button to find your image on your computer and Mediacentral will use this.
- For best results use an imagesized at 640px x 360px and formatted to either .jpg, .png or .gif.
- If the file is audio-only, an icon of a film reel is used in place of thumbnails. Ideally, you should add a personal thumbnail image for all audio files.
Associated Files and file formats
The use of associated files has been enabled. You can add a Captions file created outside of Mediacentral. You can also attach up to three additional files, such as a transcript or perhaps the PowerPoint file shown in your video, or a link to a URL.
To add additional files which, support your video then you need to type text in the Title box. The text should relate to the file you are adding.
The allowed file types are displayed above the title box, as seen below:

Then click on Browse to add the Associated File form your computer. Once the file has uploaded, click on Next.
Upload Confirmation
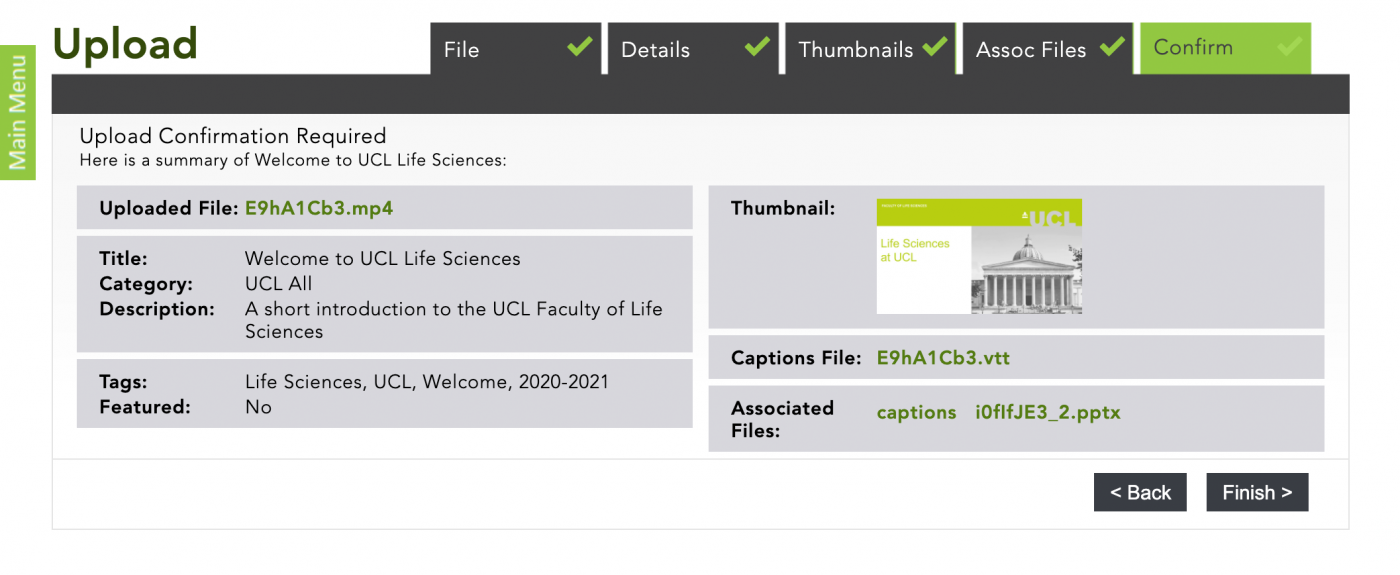
The confirmation screen shows the media details. If you need to change the upload properties, use the tabs at the top of the wizard. Once all of the information is correct, click Finish on the confirmation screen. This submits your media to the encoder and takes you to your media content page, where you can preview the media once it has processed, as well as manage your media uploads.
Tip: Please note that your file joins a queue for transcoding and sometimes, especially during busy periods this may take time to process - you should always allow 8 hours to guarantee your file has been fully processed and available.
Mediacentral transcodes your file into three streaming formats which will allow distribution to different devices in an appropriate manner and depending upon a viewer's network connectivity.
Your media content page indicates the progress of video transcoding in percentage terms until the process has finished. Once the video has been processed you will receive an email confirming the file has successfully uploaded to the system and is available in Mediacentral.
Should for some reason your upload fail, you will receive an email explaining what to do. Always try to upload from a desktop or laptop computer. Uploading from a mobile device is possible, but is totally dependant upon your mobile provider systems. we recommend that you never upload a large file using your mobile unless connected to a good WiFi signal.
 Close
Close

