Close
Close

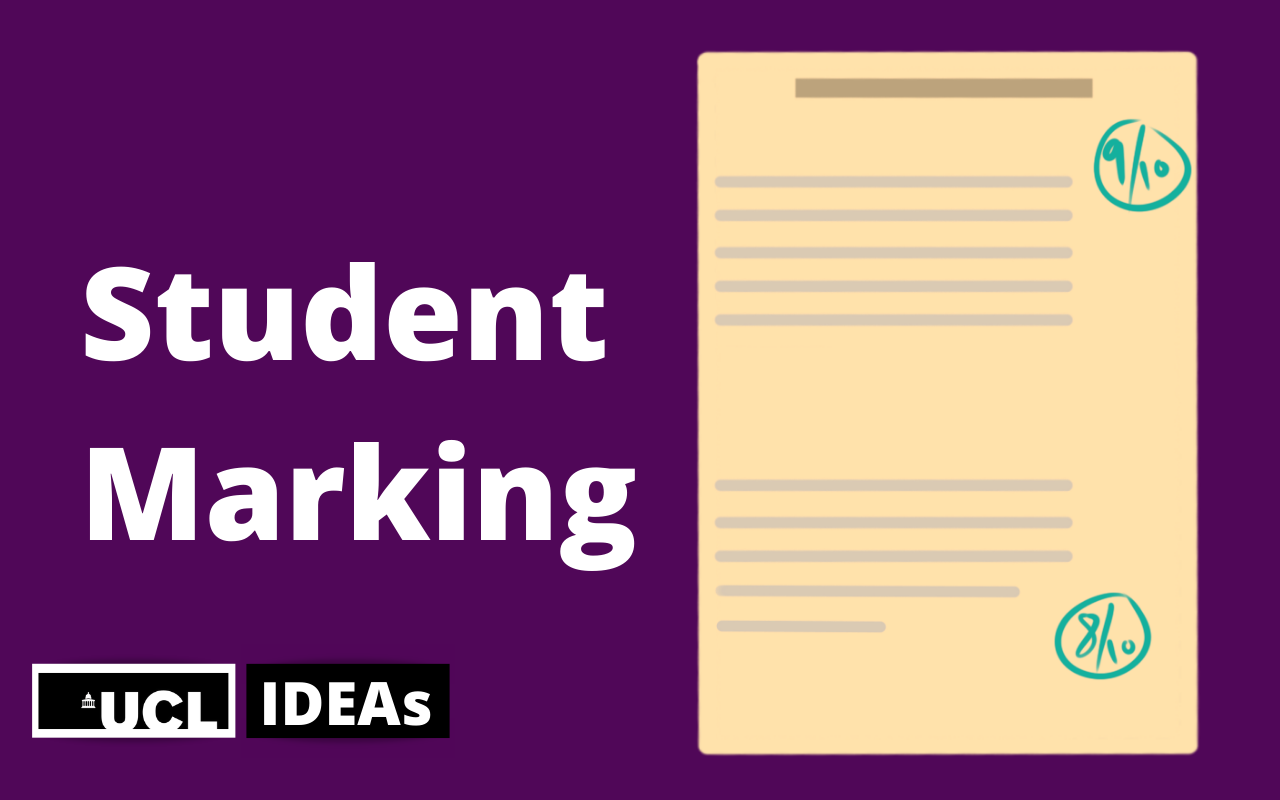
Student marking
Overview of how to design a digital learning activity where students self- or peer-mark work, alone or in pairs, using appropriate rubrics and assessment criteria.
29 April 2021
About this activity
By taking part in the process of assessment, students gain a deeper understanding of topics, the process of assessment and what they are doing in their own work.
This helps to make them more aware of ‘what learning is’ and thus see their own learning in this way.
Example instructions to students:
Self-mark or peer-mark your work, working alone or in pairs, using appropriate rubrics and assessment criteria.
Why use it
- Develop understanding of assessment criteria and feedback literacy
- Enables reflection on their own work
- Identifies any misunderstandings in the assessment criteria
When to use it
- As part of a gateway assessment
- When reviewing exemplar materials
- At the end of a session or between sessions.
Digital tools that might be used
- Handwritten paper photographed and uploaded – Office Lens
- Moodle Discussion forum
- Breakout room discussion (Zoom, BB Collaborate, MS Teams)
- Shared file
- Peermark (Turnitin)
Speed of set up time
2 to10 minutes, this depends on whether rubrics and exemplars are available.
Workload
- Developing mark scheme / rubric
- Looking over and feeding back
- Setting assessment
Other resources
- Exemplars
- Rubrics
Examples of staff use
- Case study: It’s a trap! How I got students to engage with assessment: the power of guided marking
- Case study: Peer review of virology essays
- Case study: Making history with iPads, peer assessment and MyPortfolio
See related activities

Join the conversation