- 3320 - Clear a Paper Jam from Tray 1
-
1. Press the release latch on the left side of the printer.
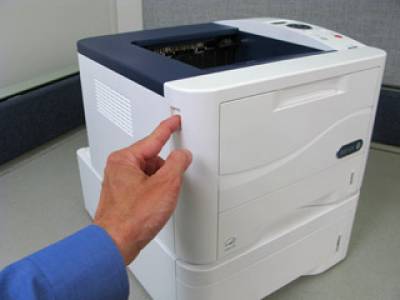
2. Open and then close the Front Door. Any jammed paper will automatically be ejected from the printer.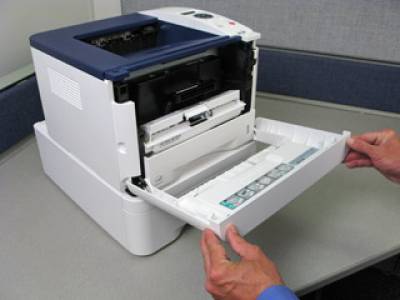
If the paper does not exit, proceed as follows:3. Open Paper Tray 1.
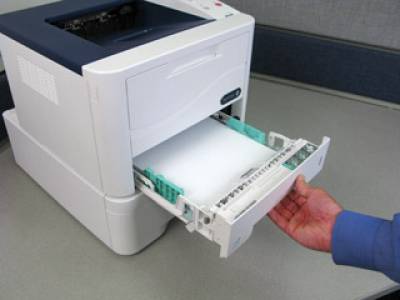
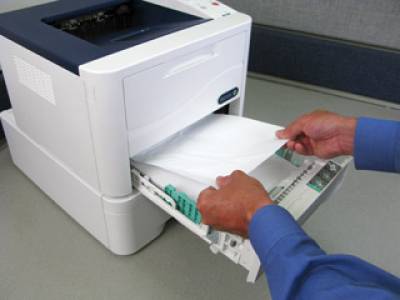
4. Remove any jammed paper by gently pulling the paper straight out. If the paper does not move when pulled, or if paper is not visible in this area, check the area around the Print Cartridge.5. Close Paper Tray 1, until the tray snaps into place. Printing will automatically resume.
- 3320 - Clear a Paper Jam from Tray 2
-
1. Remove Paper Tray 2 from the printer.
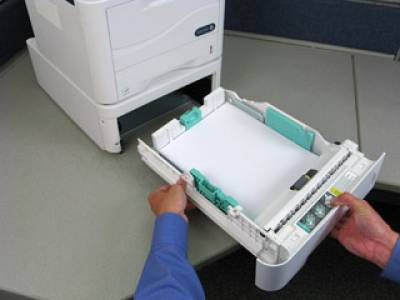
2. Perform one of the following depending on the situation:- Remove any jammed paper by gently pulling the paper straight out.
a. Insert Paper Tray 2 back into the printer until the tray snaps into place. Printing will automatically resume.
b. No further steps are needed.
- If the paper does not move when pulled, or if paper is not visible in this area:
a. Open Paper Tray 1 half-way. It is not necessary to remove the tray from the printer.
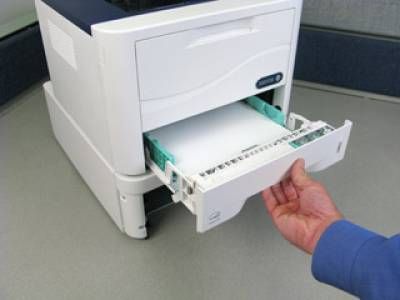
b. Pull any paper straight up and out.c. Close Paper Tray 1.
d. Insert the Paper Tray 2 back into the printer. Printing will automatically resume.
- 3320 - Change the Ink Cartridge
-
CAUTION: The Print Cartridge contains components that are sensitive to light, temperature, and humidity. Follow the recommendations provided to have the optimum performance, highest quality, and longest life from the new Print Cartridge.
Store the cartridge in the same environment as the printer it will be used in; this should be in controlled office temperature and humidity conditions. The Print Cartridge should remain in its original, unopened package until installation. If the original packaging is not available, cover the top opening of the cartridge with paper and store in a dark cabinet. Opening the cartridge package prior to use dramatically shortens its operating life.
If the Print Cartridge is not replaced timely when the replacement message is displayed, the printer will stop printing.
1. Press the release latch on the left side of the printer.
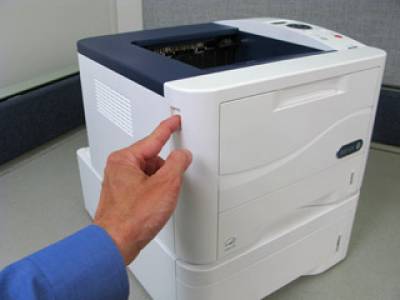
2. Open the Front Door.
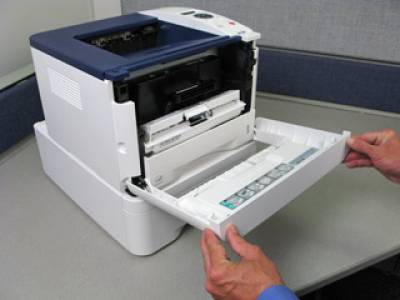
3. Pull the Print Cartridge out of the printer.
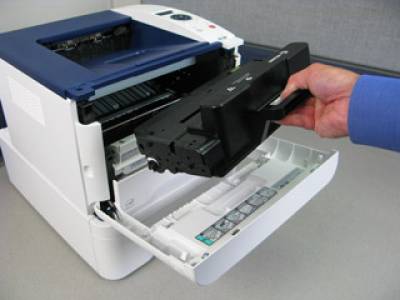
4. Remove the new Print Cartridge from the packaging.
5. Remove the protective sheet from the cartridge and the plastic handle that is attached to the protective sheet.
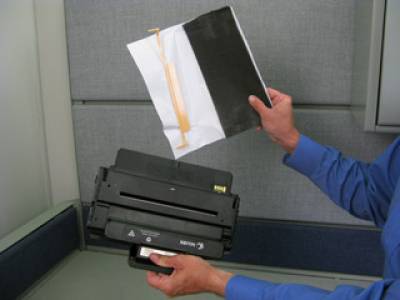
6. Carefully remove all the remaining tape and packaging from the cartridge.
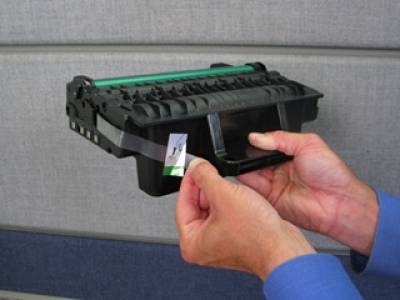
CAUTION: Do not touch the green underside of the print cartridge. Use the handle on the cartridge to avoid touching this area.
7. Slowly shake the cartridge five or six times to distribute the Toner (Dry Ink) evenly inside the cartridge. CAUTION: Do not use warm water or cleaning solvents to remove Toner (Dry Ink) from your skin or clothing. This will set the Toner and make it difficult to remove. If any Toner gets on your skin or clothing, use a brush to remove the Toner, or wash it off with cold water and mild soap. For additional product and material safety information,
click on the [Xerox Environment, Health and Safety] link under the Product Resources section of this window.
8. Hold the Print Cartridge by the handle and slowly insert the cartridge into the opening in the printer. Tabs on the sides of the cartridge and corresponding grooves within the machine will guide the cartridge into the correct position until it locks into place.
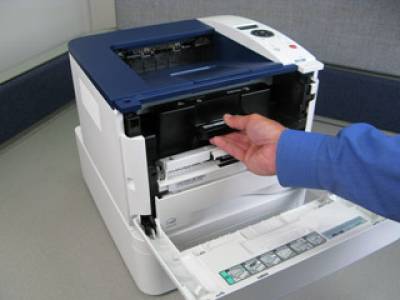
9. Close the Front Door. Make sure the door is securely closed.
- 3320 - Clear a Paper Jam at the Rear of the Machine (Duplex Unit Area)
-
If the Duplex Unit is not inserted correctly, a paper jam may occur. To avoid paper jams, make sure the Duplex Unit is inserted correctly with the edges of the unit aligned with the feed grooves on the inside of the printer. The Duplex Unit is located at the rear of the printer.
1. Grasp the Duplex Unit, and pull the unit out of the printer.
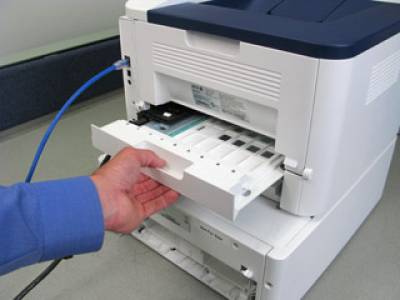
2. Remove any jammed paper from the Duplex Unit.
3. If there is not any paper in the Duplex Unit, remove the paper from the rear / inside of the printer.
4. Insert the Duplex Unit back into the printer, aligning the edges of the unit with the feed grooves on the inside of the printer. NOTE: Make sure the Duplex Unit is fully pushed in.
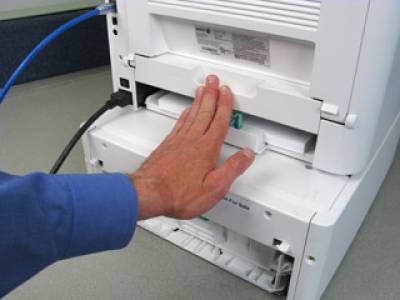
5. If paper is still jammed, open the Rear Door.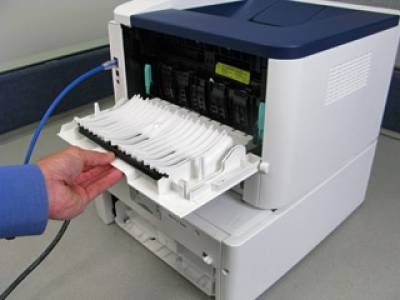
If any jammed paper is visible, pull down the pressure levers on each side about 90 degrees and remove the paper.
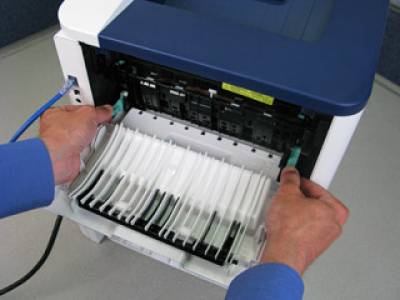
6. Close the Rear Door. Printing will automatically resume. - 3320 - Clear a Paper Jam Inside the Machine
-
WARNING: The Fuser and surrounding area may become hot during operation. To avoid injury, be careful while working in this area.
1. Press the release latch on the left side of the printer.
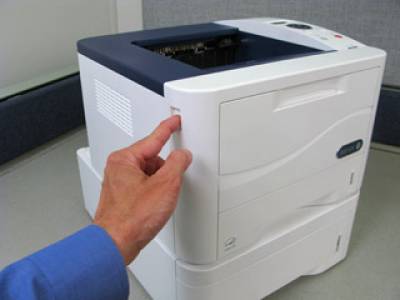
2. Open the Front Door.
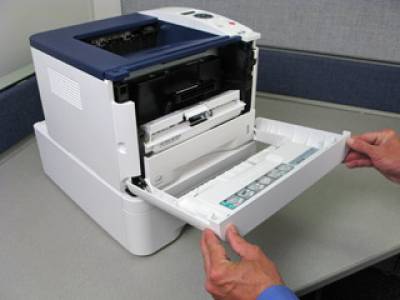
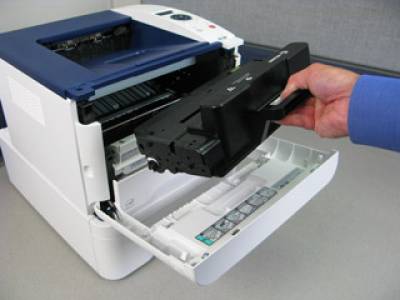
3. Pull the Print Cartridge out, lifting the cartridge up slightly at the front.
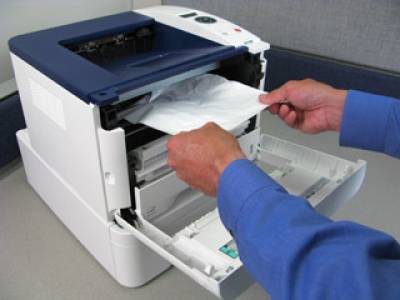
4. Remove any jammed paper by gently pulling the paper straight out.
5. Hold the Print Cartridge by the handle and slowly insert the cartridge into the opening in the printer. Tabs on the sides of the cartridge and corresponding grooves within the printer will guide the cartridge into the correct position until the cartridge locks into place.
6. Close the Front Door. Make sure the door is securely closed. Printing will automatically resume.
- 3320 - Clear a Paper Jam from the Bypass Tray
-
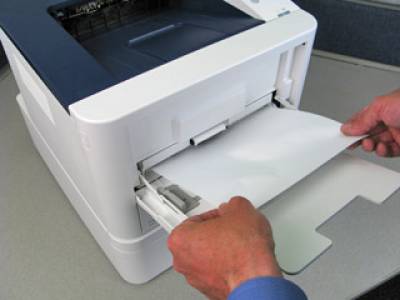
1. If the paper is not feeding properly, pull the paper straight towards you, and straight out of the printer.
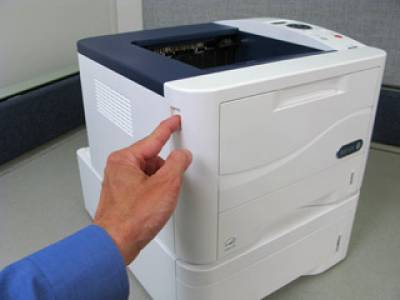
2. Press the release latch on the left side of the printer.
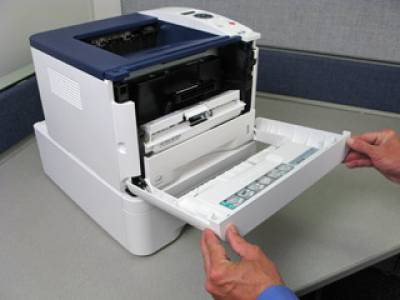
3. Open the Front Door, and then close the door.
4. Re-load the Bypass Tray to resume printing.
 Close
Close

