Dynamic web pages using PHP linked to a MySQL database can be created using Dreamweaver MX, which is available on the Staff WTS service. The following example, which assumes some knowledge of Dreamweaver, will create a web page containing a table which is dynamically linked to table people in database ucabwww owned by user ucabwww, who looks after the Phrenology department's web site. Note that the bulk of this procedure, defining the site and the database connection, need only be done once for the site. Once done, they are remembered and further dynamic pages can be easily added.
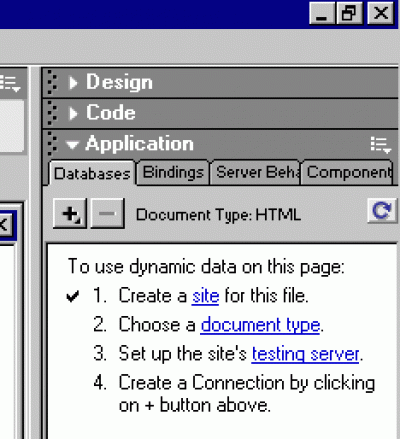
It's easiest to first open the Application panel group and select the Databases panel. This presents a helpful checklist of what has to be done to set up your site:
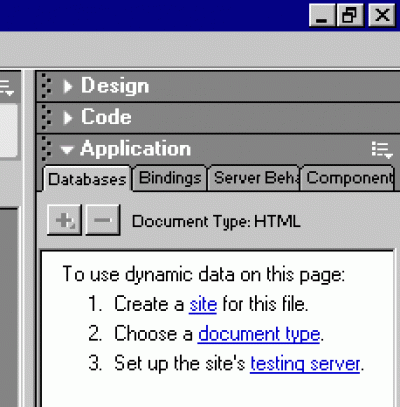
Defining your site
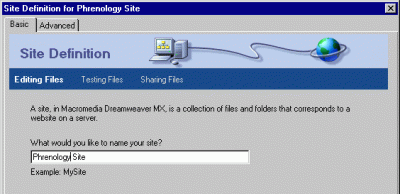
First, click site in step 1. This will open the Site Definition dialogue. You can select the Advanced tab, which will show a panel familiar to Dreamweaver 4 users, but it's quicker to use the wizard-like Basic option. Enter a site name - this is purely for Dreamweaver purposes and will be displayed in your list of sites - and click the Next button in the dialogue box (not shown here, to save screen space):
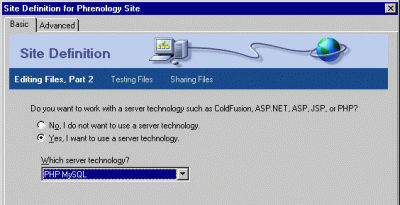
Check I want to use a server technology, select PHP MySQL from the menu, and click Next:
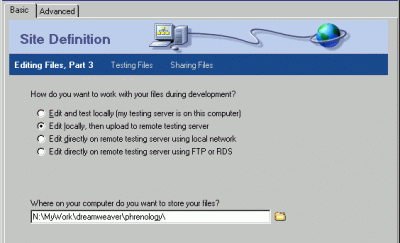
The default is Edit locally, then upload to remote testing server - stick with this setting. Then select a folder which is to hold your local site. We recommend that you create local site folders in N:\MyWork\dreamweaver. Click on the yellow folder icon to open a standard file browser dialogue, which will let you create your site folder. Finally, click Next:
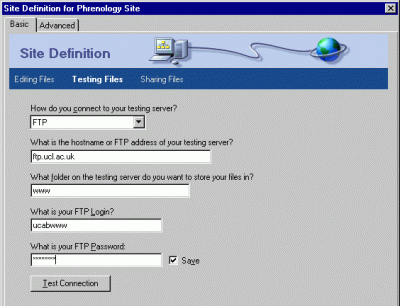
Then set up your FTP connection to your remote site, just as in Dreamweaver 4. Select FTP from the menu, then fill in the FTP server name, folder name, userid and password. You can click Test Connection to confirm that your userid/password work. Finally, click Next:
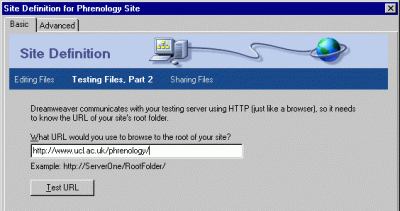
Enter the URL of your site - you can test it using the Test URL button - and click Next:
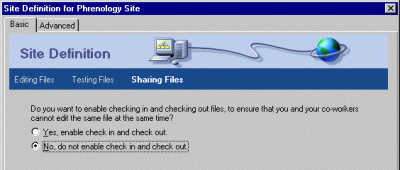
Choose whether you want to use the check in and check out feature. The No default is OK unless you have several people maintaining your site. Then click Next:
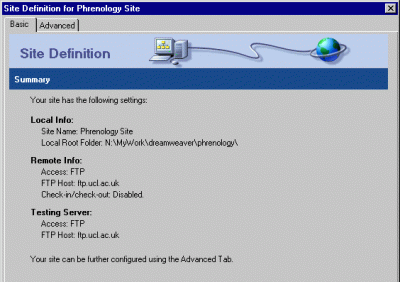
You are now presented with a summary of the settings you have made. Click Finish (not shown in this screen-grab) if they're OK.
The Databases panel now shows that step 1 is complete. Click on document type in step 2:
Select PHP from the drop-down menu, and click OK:
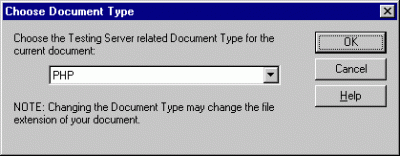
The site definition is now complete.
Defining a database connection
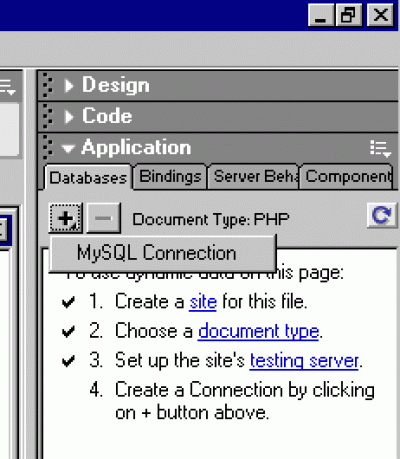
You now define a database connection, which is the information needed to connect to your MySQL database. This information is saved in a PHP file which gets uploaded to the server and is used whenever your dynamic pages are browsed. Click the Plus sign in the Databases panel, and click MySQL Connection:
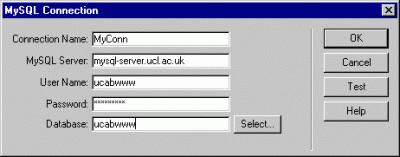
Give your connection a name, and fill in the details of the MySQL server, your MySQL user name, password and database name. You can click Test to confirm that your name/password are OK:
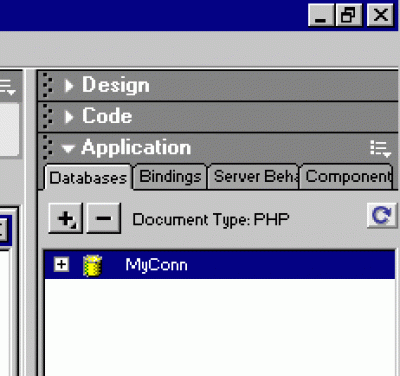
Your Connection is now shown in the Databases panel:
Creating dynamic content
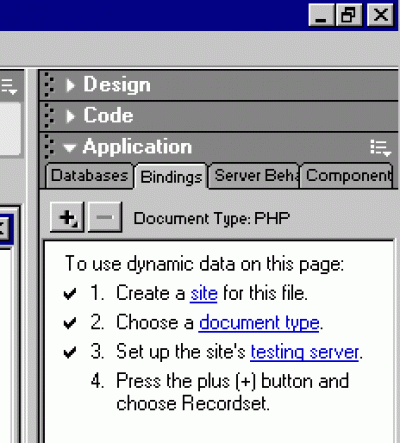
All dynamic content is associated with what Dreamweaver calls a Recordset - what most database packages would call a Query. Information about the Recordset is coded into the page your are editing. If you haven't got a Untitled Document window already open, create one with File->New, choosing PHP from the Dynamic Page category, then select the Bindings panel and click the Plus sign to define a new Recordset:
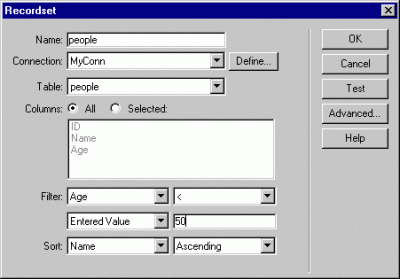
Now give the Recordset a Name, and select your Connection from the pull-down menu. A full list of the tables in your database is now made available in the Table menu, and you can select the table you wish to use. This may take a while as information is fetched from the MySQL server. The names of the fields in your table are automatically displayed and you can select which you are interested in, and also set up a simple selection criterion and sort order (more advanced queries, including multi-table joins can be defined using the Advanced option). Then click OK:
The simplest way to create dynamic content is to use a Dynamic Table. To do this, select the Application tab on the Insert panel, and click the Dynamic Table button

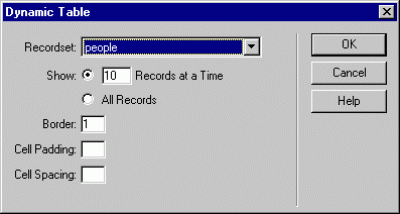
Now choose your Recordset from the pull-down list. You can also choose how many records are to be shown per page, the default being 10. This means that if your query delivers more than 10 records, links showing Previous and Next will automatically be added so that the user can browse the records. Click OK:
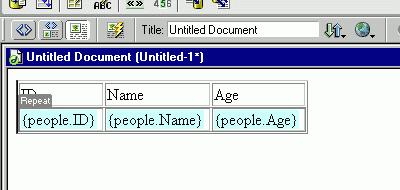
The table is then shown in your web page with place holders indicating where the dynamic data is. You should use this view if you want to modify any properties of the table, such as fonts and cell alignments - just use normal Dreamweaver tools to do this.
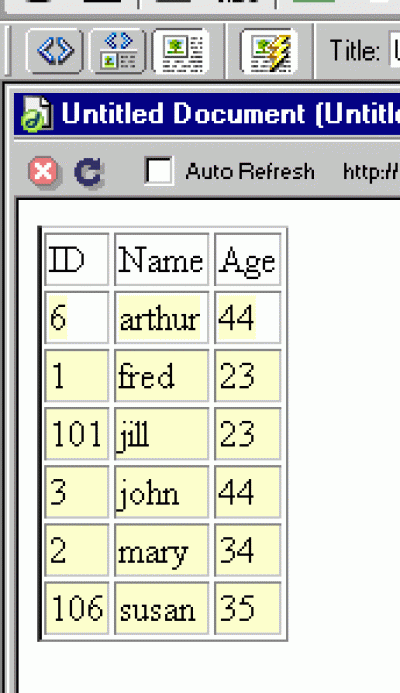
You can now view the actual data from the database to see if the layout is as you require. To do this, click Live Data View

at the top of the document window, next to the familiar Code and Design View buttons:
You can add further elements to your page using familiar Dreamweaver tools. You can preview the page in a browser by using F12, as usual. When you are ready, you can upload your page to the server - the first time you do this, you should Include Dependent Files in order to upload the Connection details.
Dreamweaver includes many other "server behaviours" to use MySQL from web pages, including dynamic pull-down menus for forms, and easy creation of forms to add or remove data from an existing database. More details are in the Dreamweaver help system.
 Close
Close

