How to install Microsoft Visual Studio Professional
This guide explains how to install and activate Microsoft Visual Studio Professional.
This guide is aimed at...
- IT Administrators
- Staff
- SLMS staff
Before you start...
Before installing any Microsoft software, ensure that you have purchased the correct number of licenses and have removed any Microsoft trial software. If you have not, then please purchase a license from ISD Purchasing via an Electronic IDT.
Instructions
1. If you are installing onto Windows 8/10 you will not need ISO mounting software, otherwise you will need to mount this ISO file by following the below link
2. Ensure that the software version you are licensed for has downloaded completely before proceeding. Either open or mount the ISO file and double click on the .exe file to start the installation process.

Fig 1 - Visual Studio Pro file
3. Select install location and installation type, Click Install.
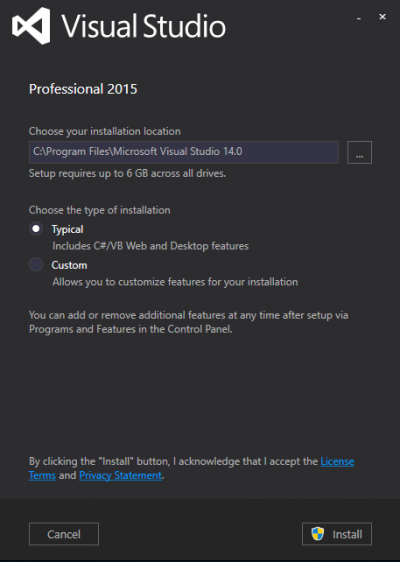
Fig 2 - Choose type of installation
4. The UAC security window will come up, click yes to proceed.
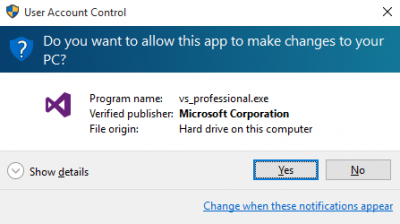
Fig 3 - UAC Window
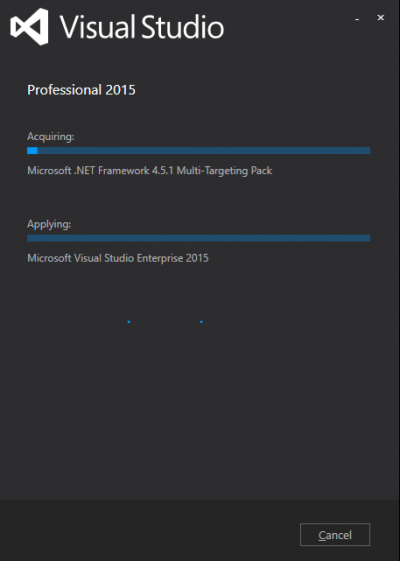
Fig 4 - Installing Visual Studio
5 - Click launch to start activation process.
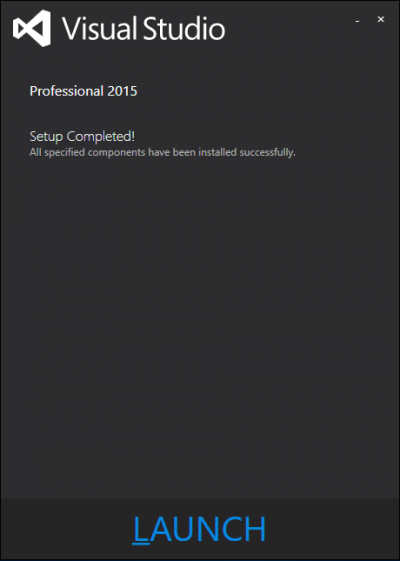
Fig 5 - Setup completed
6. If you have an account sign in to Visual Studio or click not now to continue.
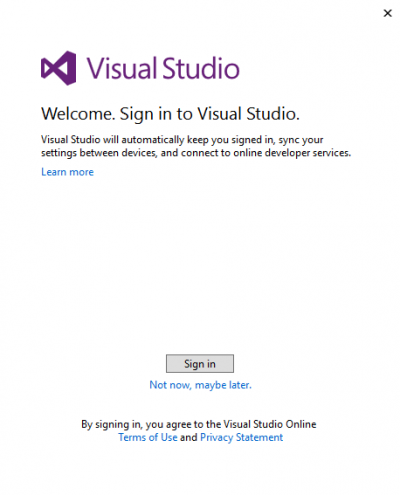
Fig 6 - Sign in to Visual Studio
7. Select your development environment and theme.
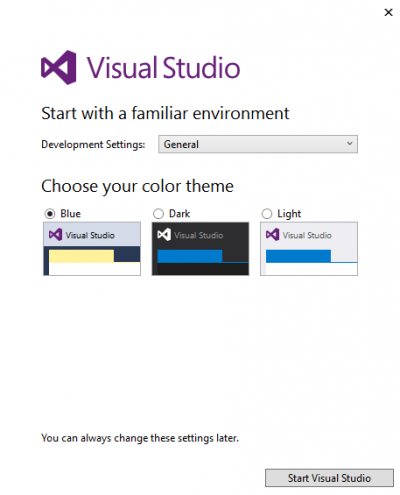
Fig 7 - Select development environment
8. Once Visual Studio opens from the menu click Help > Register Product.
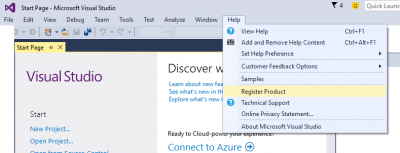
Fig 8 - Register product
9. Click License with a product key.
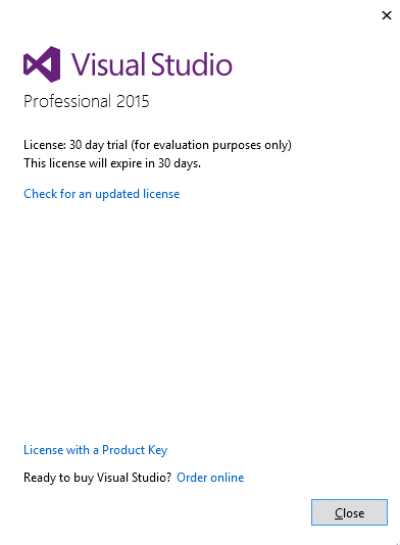
Fig 9 - License with a product key
10. Enter license key and click apply.
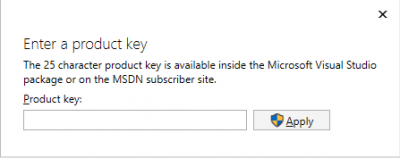
Fig 10 - Enter license key
11. UAC: Accept making changes to your PC.
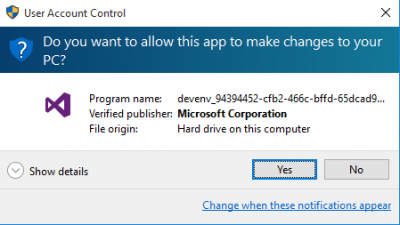
Fig 11 - UAC Accept making changes to your PC
12. License product key applied.

Fig 12 - License product key applied
13. Finish
Related guides & other info
- Searching for details of software package or application
- Downloading software
- Installing software you have downloaded
Help & Support
For further help and assistance you will need to contact the IT Services.
Feedback
We are continually improving our website. Please provide any feedback using the feedback form.
Please note: This form is only to provide feedback. If you require IT support please contact the IT Services Help desk. We can only respond to UCL email addresses.
 Close
Close

