 Close
Close

UCL History of Art delivers at-home experimentation kits to students during lockdown
5 May 2021
Students on the BA in History of Art, Materials & Technology received home kits during the lockdown so that their studies could continue, despite being unable to come to campus. We chatted to HoA's Lab Technician Tobias Preuten, who put the kits together with Dr Hélia Marcal.

Hi Tobias, thanks so much for taking the time to talk to us! You put together the Home Kits for the students on the BA in History of Art, Materials and Technology who are currently working remotely – why was it so important that students could continue to experiment at home?
The current circumstances with regard to the pandemic present a big challenge for the whole education sector, not least universities. On the receiving side, it is a huge change for students not to be able to go to the lecture hall or the laboratory, hang out on campus, meet and discuss with fellow students. From my own experience as a student – a long time ago – being away from all that could make it more difficult to be engaged and motivated and, thus, learn efficiently. On the providing side, lecturers have the very challenging task of keeping education and training at the same high level by switching to online lectures and tutoring via messenger.
And still, hands-on experience is crucial at our department. History of Art requires intimate interaction with objects, artifacts, and works of art. We are keen on conveying this from the very beginning. Consequently, the “catchphrase” of the bachelor program “History of Art, Materials and Technology” is: “This one-of-a-kind degree provides you with the language and tools to interpret works of art as physical objects.”
One of the most worrying outlooks in the current situation was that students would not be able to come to the lab and have an introduction to working with materials and objects, a very important part of the program. When it became obvious that face-to-face teaching would not be possible any time soon and even socially distanced lab work would not be an option, we started thinking about providing our students with an alternative to experiencing work in our Material Studies Laboratory.
One of the ideas Hélia came up with to compensate for the lack of lab-time was to compile simple kits that could be sent to the students’ residences, allowing them to carry out experiments and practical work at home. The main challenge here was to create protocols that would be safe to be carried out at home – not involving toxic or otherwise potentially harmful substances, as well as not requiring special equipment.
We selected a few protocols, tested them in the lab, and finally chose two that would enable the students to recreate a medieval recipe for ink, as well as one for a red dye. Everything could be achieved using natural ingredients and almost exactly the way it would have been done hundreds of years ago by the artists themselves! How cool is that?

Very cool! Can you tell us more about the kits? What was in them?
The first experiment we chose was creating ink from oak galls. These are small outgrowths on oak trees caused by the larvae of certain gall wasp species, and they contain high levels of tannins. They have been collected and used to produce ink from as early as the 5th century. The basic principle is that the tannins from the galls form a chemical complex with added iron salts, resulting in the dark coloured pigment. When exposed to air, the complex becomes water-insoluble, making it an ideal writing ink. The ink is then typically thickened with gum arabic to get a better consistency for writing.
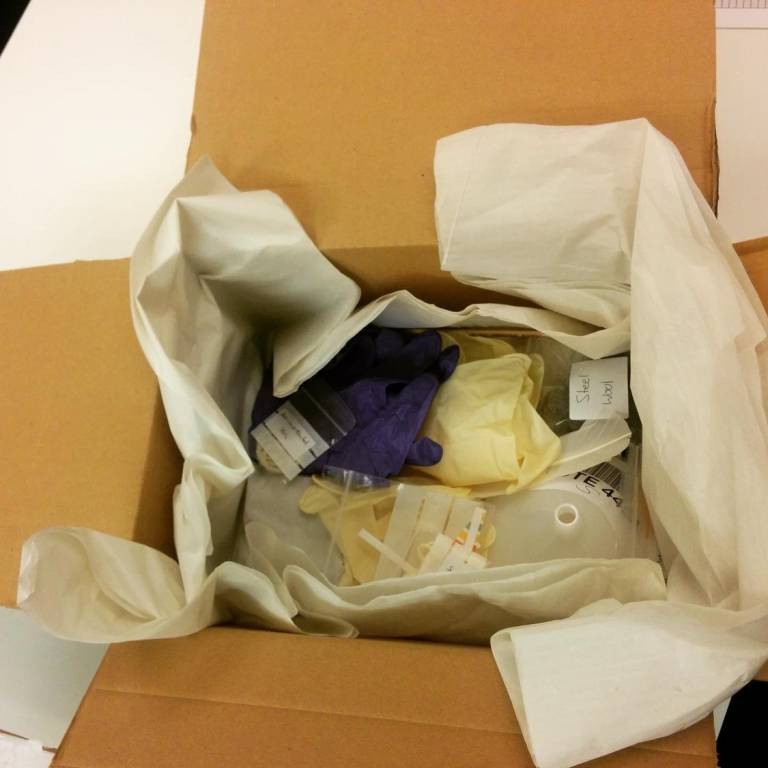
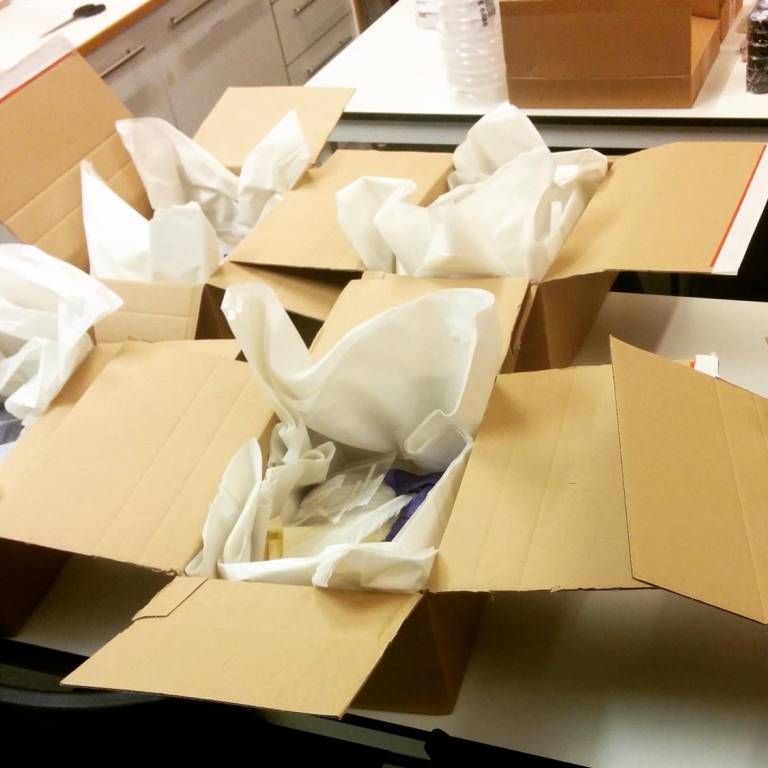
The home kits had to contain all necessary ingredients, as well as materials that would not necessarily be present in a standard household. Also, each kit had to include the same contents to make the experiments comparable and guarantee that they would work, so we had to weigh in the exact amounts needed for each ingredient. Besides gall nut powder, we provided malt vinegar and steel wool to produce the required iron salts, as well as gum arabic. Also included were materials, such as funnels, glass bottles, filter papers, gloves, and pH strips. Finally, we provided natural feather quills and parchment-like paper to make the medieval experience (almost) perfect.
The second protocol also used a medieval recipe but this time to produce an organic red dye called a lake pigment. The main ingredients are brazilwood, slaked lime (calcium hydroxide), and alum. The latter two are used to facilitate extraction of the pigment (called brazilin) from powdered brazilwood and fix the colour. The resulting dye can be of different colour, depending on the exact way of extraction and the pH, and has been widely used for painting and dying cloth.
In the home kits, we provided brazilwood powder, lime, and alum, as well as working materials, such as glass bottles, filter papers, gloves, and wooden stirring sticks. For the students to test the dye, we also provided some threads of yarn with different characteristics.
How did students use the kits?
As mentioned above, we weighed in all ingredients in the required amounts and provided all basic working materials, so the students could start working right away. The different recipes involved a number of basic steps, such as incubating steel wool in malt vinegar for a few days, boiling an oak gall solution, mixing different ingredients, filtering solutions, measuring the pH, and drying the pigments. We provided the students with detailed protocols and background information, so they would know what they were doing, and why. To provide context and avoid blind following of a protocol, the students are encouraged to use the resulting ink and dye to round up the experience and make the historic and artistic relevance of these experiments and their own accomplishments in recreating them more tangible.
What recommendations would you give to anyone else thinking of doing something similar?
Having gone through the whole procedure, we would absolutely recommend doing it! And students were very excited to be able to conduct some hands-on work.
Depending on how many students are taking part and their location, planning the experiments and preparing the kits can be a bit of a challenge but the outcome is definitely worth it. We had a bunch of students in different countries, including Singapore, China, Australia, and Russia, so being aware of and taking into account potential import restrictions and required customs declarations was important. Of course, all materials, ingredients, and procedures must be safe and feasible in any standard household. Protocols need to be as detailed as possible to guarantee success and safety. To this end, all experiments should be tested in the lab with the exact same ingredients, and materials and protocols adjusted where necessary. Once the final protocols are established, be aware that sourcing and ordering all materials - including packaging - require a fair amount of organizing and planning in terms of time and finances. Finally, don’t underestimate the time required to weigh in all the ingredients and prepare the parcels!