 Close
Close

Connecting to the UCL VPN with Microsoft Windows
This guide explains how to connect to the UCL Virtual Private Network (VPN) which will enable you to access to a variety of UCL services and resources from outside of UCL.
This guide is aimed at...
- Staff
- Students
- IT Administrators
- SLMS staff
- Researchers
Before you start...
- You must be aware of and abide by the UCL Computing Regulations
- You must be aware of and abide by the JANET Acceptable Use Policy
- You need your UCL user ID & password – found on the front of your registration slip
- An internet connection outside the UCL network e.g. from home
- A Windows computer with anti-virus and firewall installed (see Anti-virus and firewall requirements)
Anti-virus and firewall requirements
An anti-virus and firewall are required to access the UCL VPN service. We recommend you use the UCL supported anti-virus and firewall program FSecure. This is available for UCL staff and students for use at work and home from the UCL Software Database.
Alternatively, Sophos is also available however only provides anti-virus so you will need to use Windows Firewall.
For Windows 10/11 users, Windows Defender Antivirus and Windows Firewall are supported.
Instructions
If you have already completed the Installing the Cisco AnyConnect Secure Mobility Client steps you can skip to Connecting to the UCL VPN.
Installing the Cisco AnyConnect Secure Mobility Client
Please note: You are installing the application onto your machine/device and configuring the client entirely at your own risk and no guarantees can be made that they will work.
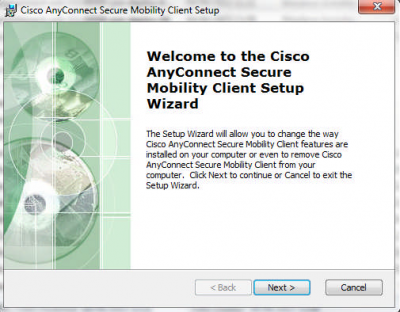
Fig.1 – AnyConnect Setup Wizard welcome screen
- Download the Cisco AnyConnect Secure Mobility Client installation file (your UCL user ID and password may be required)
- When prompted, choose to Save or Run the file (options depend on which browser you are using)
- If the file has been saved, open the file from where it was saved and run it
- Choose to accept the security warning and run the file
- You will be presented with the Client Setup Wizard welcome screen (Fig.1)
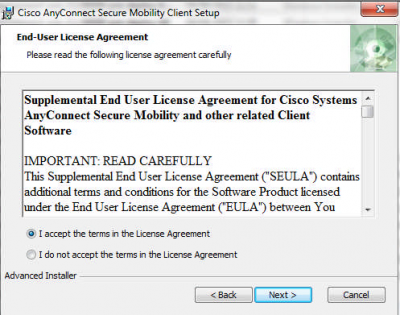
- Read and accept the End-User License Agreement and click Next (Fig.2)
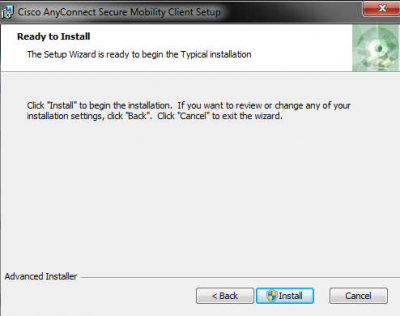
- Click Install to begin installation (Fig.3)
- Allow the User Account Control to install the software on your computer
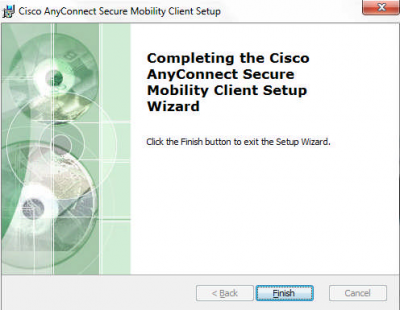
- When the installation has finished, click Finish (Fig.4)
Connecting to the UCL VPN
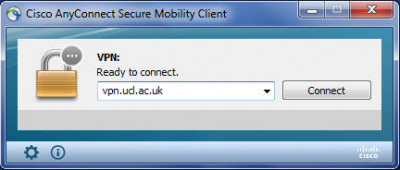
Fig.5 – Server address box and Connect button
- After installation, open the Cisco AnyConnect Secure Mobility Client from the Windows Start menu
- In the server address box (Fig.5), enter vpn.ucl.ac.uk and click Connect
You will be prompted for your username and password (Fig.6)
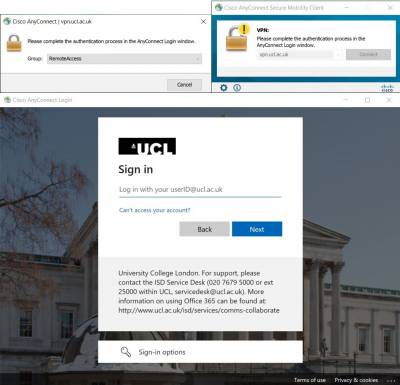
Fig.6 - Enter your username and password screen
- Enter the following details:
Group: RemoteAccess
Username: Username: Your UCL userID@ucl.ac.uk
Password: Your UCL password
The Remote Access VPN now uses Multi Factor Authentication (MFA), this provides additional security and means you won’t have to enter your credentials every time you log in.There are more details on how MFA works on the link below: https://www.ucl.ac.uk/isd/services/stay-secure/multi-factor-authentication-mfa
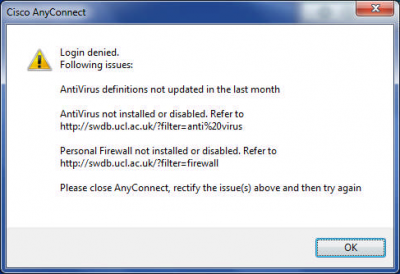
- If you do not have an active anti-virus and firewall installed, you will see the following Login denied prompt (Fig.7) You will need to rectify these issues, then attempt to login to the client again.
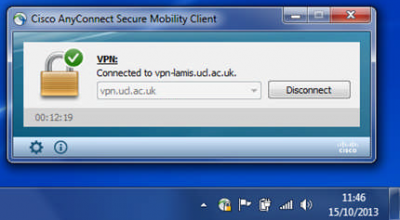
- When successfully logged in, the client will connect you to the UCL VPN service and a connected icon (Fig.8) will be displayed in the task tray (Fig.9) You will now be able to access services (e.g. MyHR and MyFinance) that are not available outside the UCL network.

- To disconnect the VPN, click the Disconnect button
- When the VPN client has disconnected, the VPN icon in the task tray will appear as in Fig.10

Help & Support
For further help and assistance you will need to contact IT Services.
Feedback
We are continually improving our website. Please provide any feedback using the feedback form.
Please note: This form is only to provide feedback. If you require IT support please contact the IT Services Help desk. We can only respond to UCL email addresses.