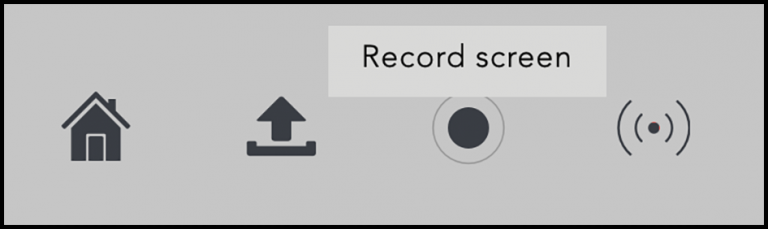
How to launch MEDIALecture
First login to Mediacentral and launch the application by clicking on the 'Record screen' button
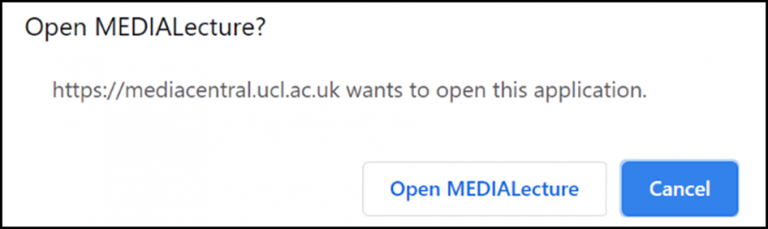
Then you will see this pop-up notification asking you to Open MEDIALecture to start the application.
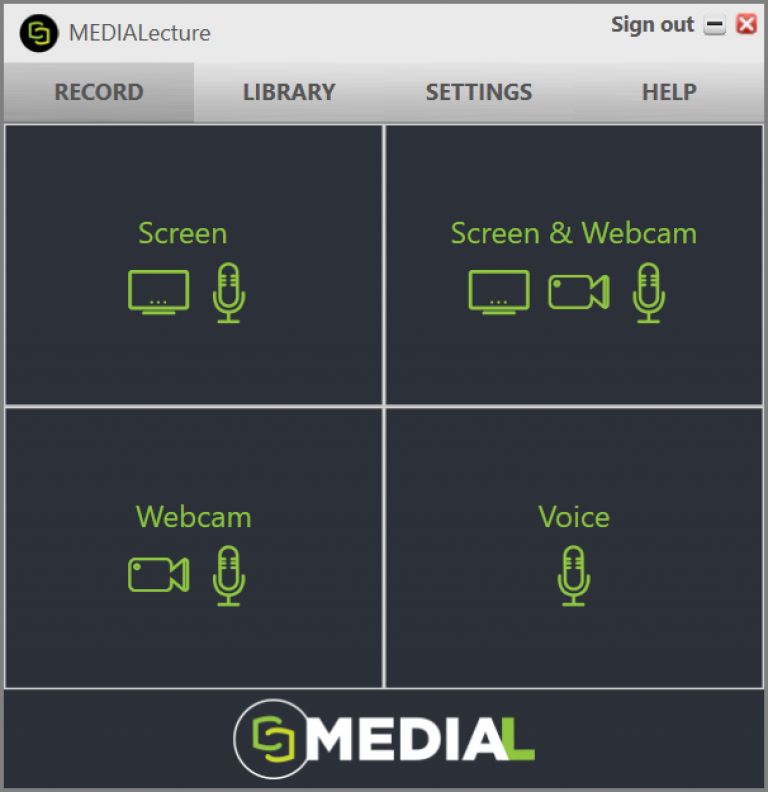
MEDIALecture Application
When the application is launched it will appear in the bottom right-hand of the screen and look like the image below, you can move this to another area of your screen if required.
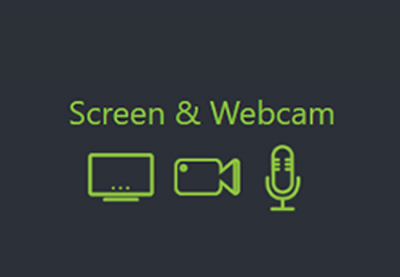
The application is split into four different sections
If you have multiple monitors attached to your computer it will display them here, allowing you to choose the monitor to record.
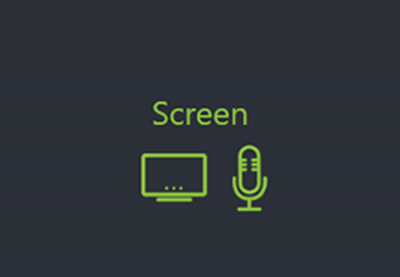
Clicking on Screen will allow you to record your screen, and if you have selected a voice input device in Settings, you can record your voice.
When you select Screen it will present you with the option of whether you would like to record all or part of your screen.
Leave the default set to record Full Screen, or choose Select Area to manually select the part of your screen to capture.
C
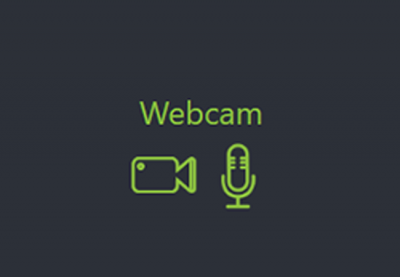
licking this option allows you to perform a screen recording whilst capturing your webcam device.
Your webcam is the one that you initially selected in the application settings area. If you wish to switch to a different camera source, click on the Settings button to change.
Configure the recording in the same way as described above in the Screen section, then click to start it.
Once your recording is finished, the video can be previewed and edited in the same way as previously described.
When the webcam is selected it captures video and audio input from your chosen webcam and microphone devices. The webcam recording appears in the MEDIALecture window in the bottom right-hand corner of the screen. Click on:- Pause to pause the recording
- Cancel to start again without saving the recording
- Done to save the recording and move to the editing screen
Editing options are explained on the Edit your media webpage
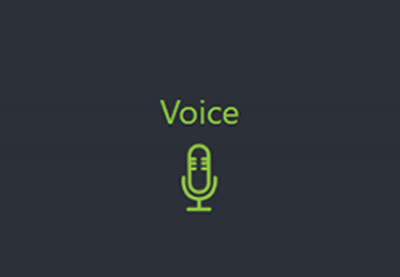
Selecting Voicewill capture the sound from your chosen audio input device.
- The audio device can be selected in the Settings area, as described earlier in this document.
- The progress is displayed in the bottom right-hand corner of the screen.
Click on
- Pause to pause the recording
- Cancel to start again without saving the recording
- Done to progress to the Preview screen
Additional functions
Keyboard Controls
- Once you have dragged the mouse to the area you wish to record, the presentation will begin.
- Just before the start of the presentation, the following screen will appear, showing the keyboard controls you can use during the recording.
- To pause and resume a recording you can use Alt + P
- Alt + D will allow you to draw during the recording.
Task Bar
Clicking the MEDIALecture application in the taskbar will open the control menu in the bottom right-hand corner of your screen.
- Here you have the option to Draw, Pause, or end the recording by clicking DONE, or Cancel the recording to end it but delete it.
Preview Window
Once the recording is complete it will open up in a preview window and start playing through it. The recording is displayed in a film reel at the top of the window, and the progress bar can be dragged across the film reel to seek through the recording.
Editing Options
On the left-hand side of the window there are four options, using these options, the video can be trimmed, chopped and titles and credits can be added.
- Trimming
- Chopping
- Titles
- Credits
Commit Recording
Once any changes have been made using the buttons as described above, click on DONE to commit the recording.
Edit Recording
- To move on and save the changes to your clip click on Edit original recording.
- If you want to leave the original recording untouched then click Create new recording and it will apply the edits to a new recording instead of making them to the original.
Metadata
Finally, metadata for the clip needs to be supplied. This will be the title, description and tags that are displayed for the recording in Mediacentral.
There are three options that can be chosen at this point:
- UPLOAD – This will upload the clip to Mediacentral straight away
- PREVIEW – This allows you to preview the clip, and make any changes to it that may be necessary
- SAVE – Choose this option to save the clip in your local library. It can be accessed at a later time and edited if necessary, and uploaded to Mediacentral at a chosen time.
Library
This section displays any videos that have been saved but not yet uploaded to Mediacentral.
- There is a search box to allow the searching of recordings, this is especially useful if you have a large number of files
- Hovering over a video on the list will bring up ‘pen’ and ‘cross’ icons, allowing you to edit a recording or delete it.
- To upload a recording click on the ‘Not uploaded. Upload now’ hyperlink in orange.
- Before the clip is uploaded the title and description can be edited, and it can still be previewed and edited using the PREVIEW button.
- Click UPLOAD to upload the clip to Mediacentral.
The recording should appear in your personal category in Mediacentral shortly after being submitted.
 Close
Close