 Close
Close

How to share reports in SNOW
This guide explains how to share reports that you have created
This guide is aimed at...
- IT Administrators
Before you start...
You would need a SNOW user ID, to access this product.
Instructions
1. When you log into SNOW you will arrive on the Home page showing either a default or custom Snowboard, go to the reports section
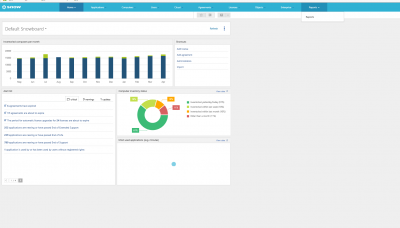
Fig 1 - snow Reports Section
2.Choose the report that you what to Share. In the is example we chose the Test All applications.
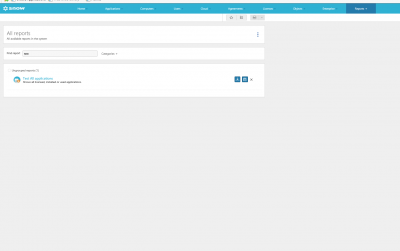
Fig 2 - select report
3. On the right hand side, choose Share report.
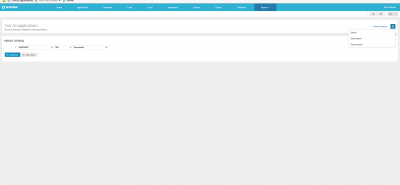
Fig 3 - SNOW License form
4. Tick the users you want to share the report with.

Fig 4 - Share Reports
5. The users you shared the report will now be able to see the same report.
Back to the top
Related guides & other info
Help & Support
For further help and assistance you will need to contact the IT Services.
Feedback
We are continually improving our website. Please provide any feedback using the feedback form.
Please note: This form is only to provide feedback. If you require IT support please contact the IT Services Help desk. We can only respond to UCL email addresses.