 Close
Close

How to submit an Extenuating Circumstances claim
Contents:
Note: This page is also available as a PDF
How to navigate to the EC system on Portico
How to submit an EC claim
How to submit evidence for your EC claim
How to upload evidence later
How to delete an EC claim
How to find out the outcome of your EC claim
How to navigate to the EC system on Portico
Log in to Portico and click on the MyStudies tab in the navigation bar:

Click on My Extenuating Circumstances

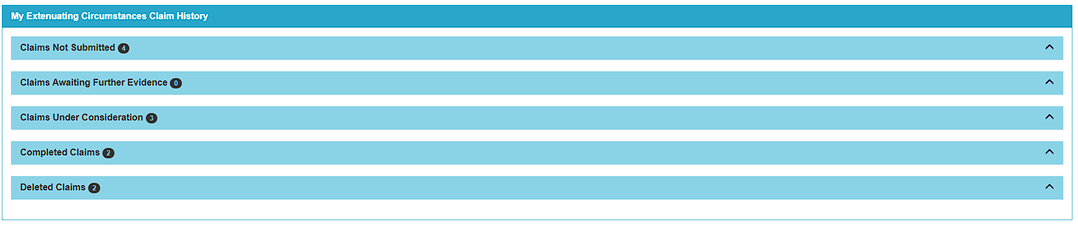
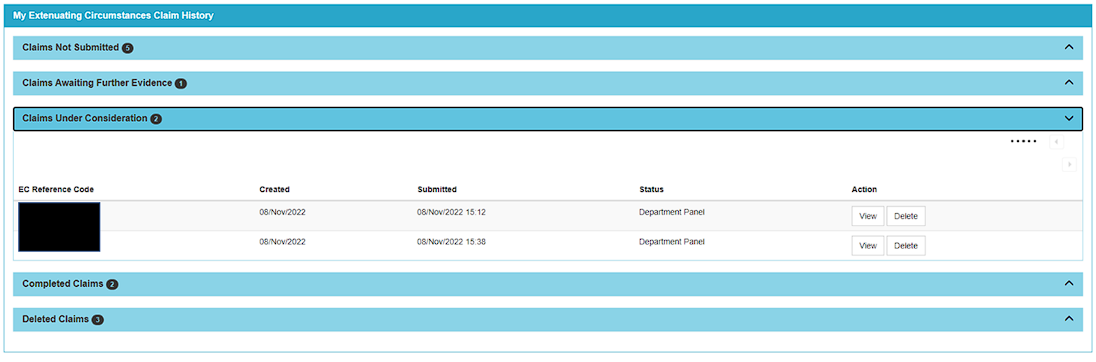
You will now see your Extenuating Circumstances homepage.
All previous claims will be listed on this page under the following categories:
- Claims not submitted: these are claims that you have started to create but have not yet submitted – nobody other than you can view or action these claims. You should delete any claims not submitted if you no longer require them.
- Claims awaiting further evidence: these are claims that you have submitted but that you have not yet added evidence for, or that the panel reviewing your claim have returned to you with a request for additional evidence. Note that you should upload supporting evidence within 4 weeks of submitting a claim (does not include self-certification claims which you do not need to submit evidence for).
- Claims under consideration: these are claims that you have submitted and that are currently under review by the relevant panel. You will be notified by email once a decision has been made on these claims.
- Completed claims: claims that you have submitted and received a decision on – both accepted and rejected claims will be listed here.
- Deleted claims: claims that you started to create and then deleted before submitting.
You can access the claim detail for any of these by clicking on the title of the claim category you wish to view to show a list of all claims in this category and then clicking on the relevant claim.
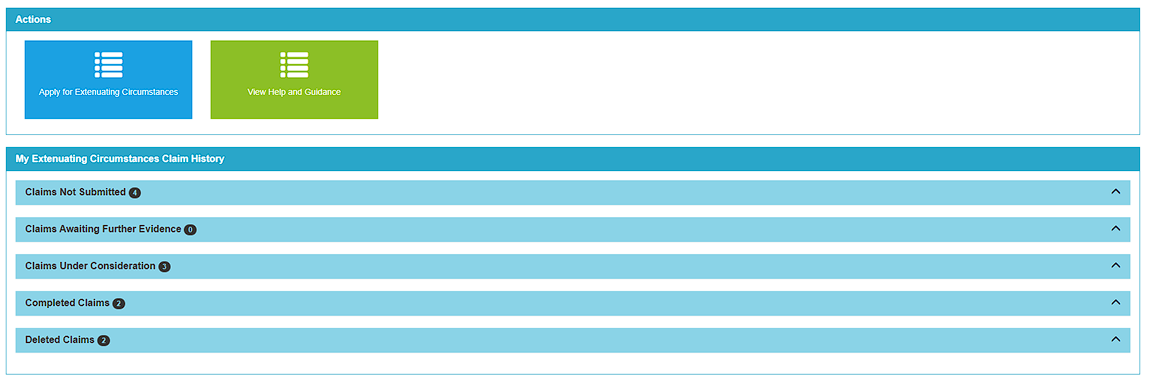
How to submit an EC claim
Navigate to the Extenuating Circumstances homepage and click on Apply for Extenuating Circumstances
After clicking this, please read the information on the screen to ensure you understand UCL’s regulations on extenuating circumstances before submitting your EC claim.
Check the “I Agree” box once you have read the information and are happy to proceed and click “Next"
You will be presented with the list of modules that you are enrolled on.
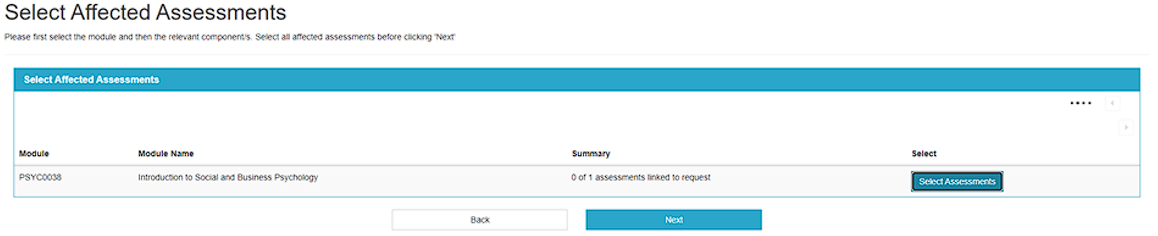
Click “Select Assessments” against the module(s) affected by your extenuating circumstances .
For each selected module, you will be presented with the assessment components of the module (e.g. coursework, essay, exam, project). Select the relevant components using the check-box and click Add to request
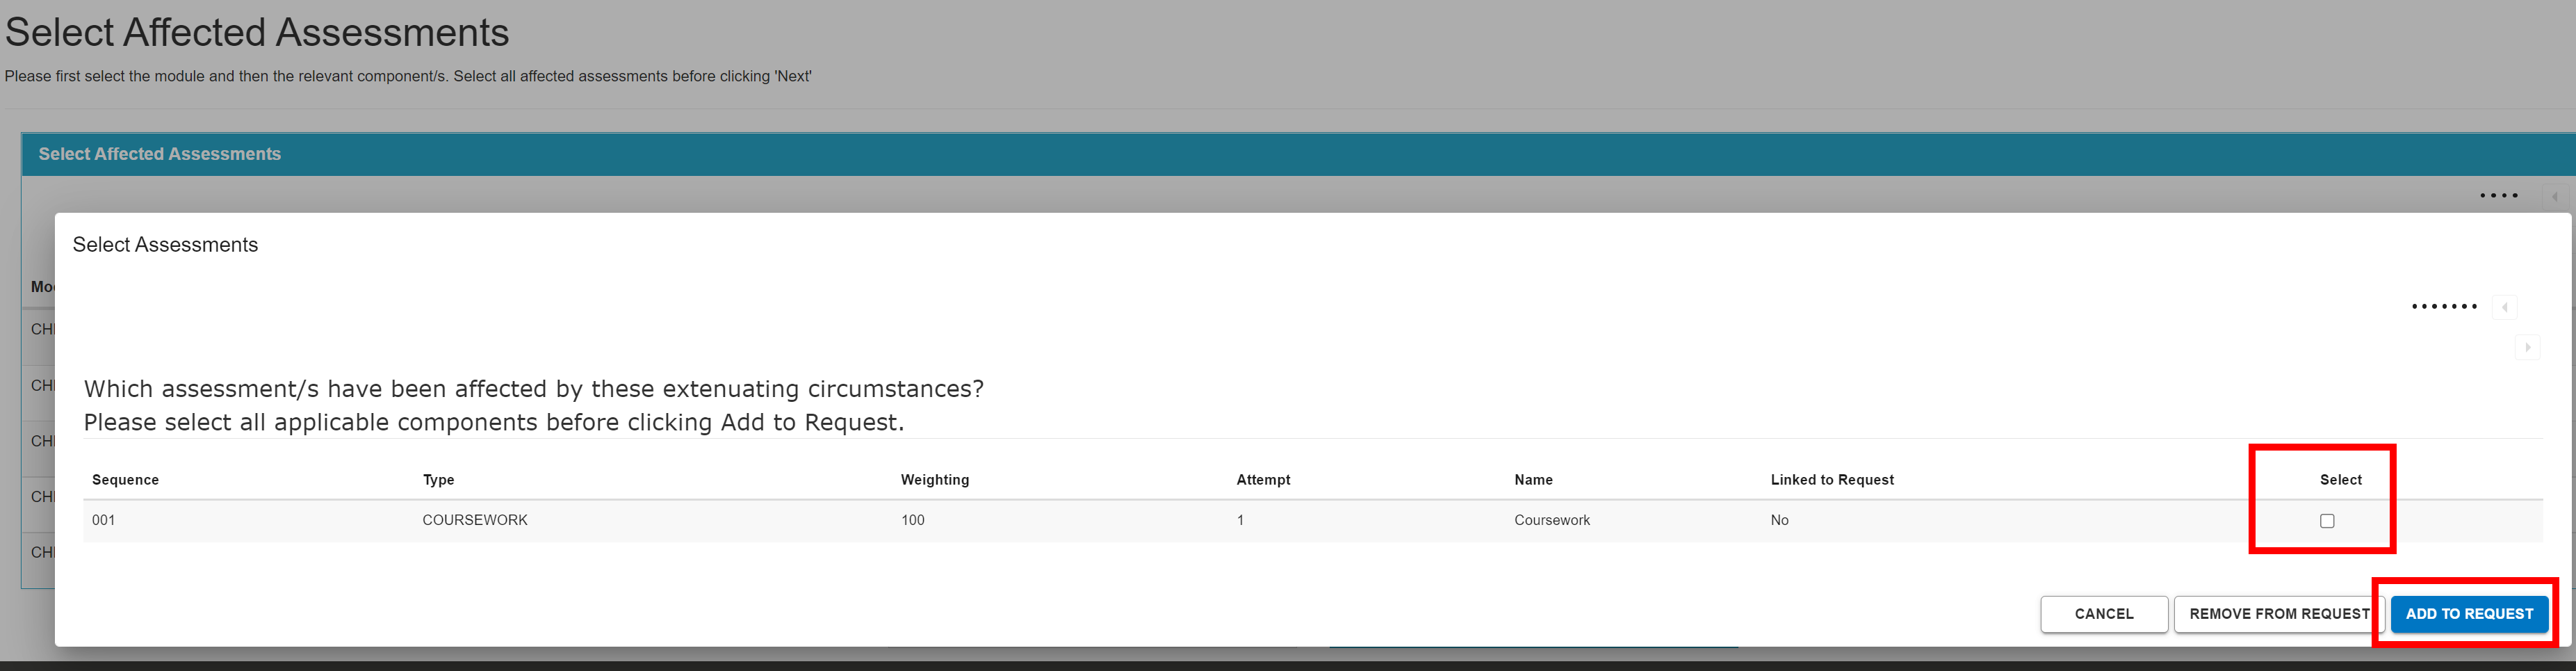
If you add a component by mistake, you can remove it - just click Select and Remove from request.
Once you have selected all affected components for all relevant modules, click Next on the Select Affected Assessments screen.
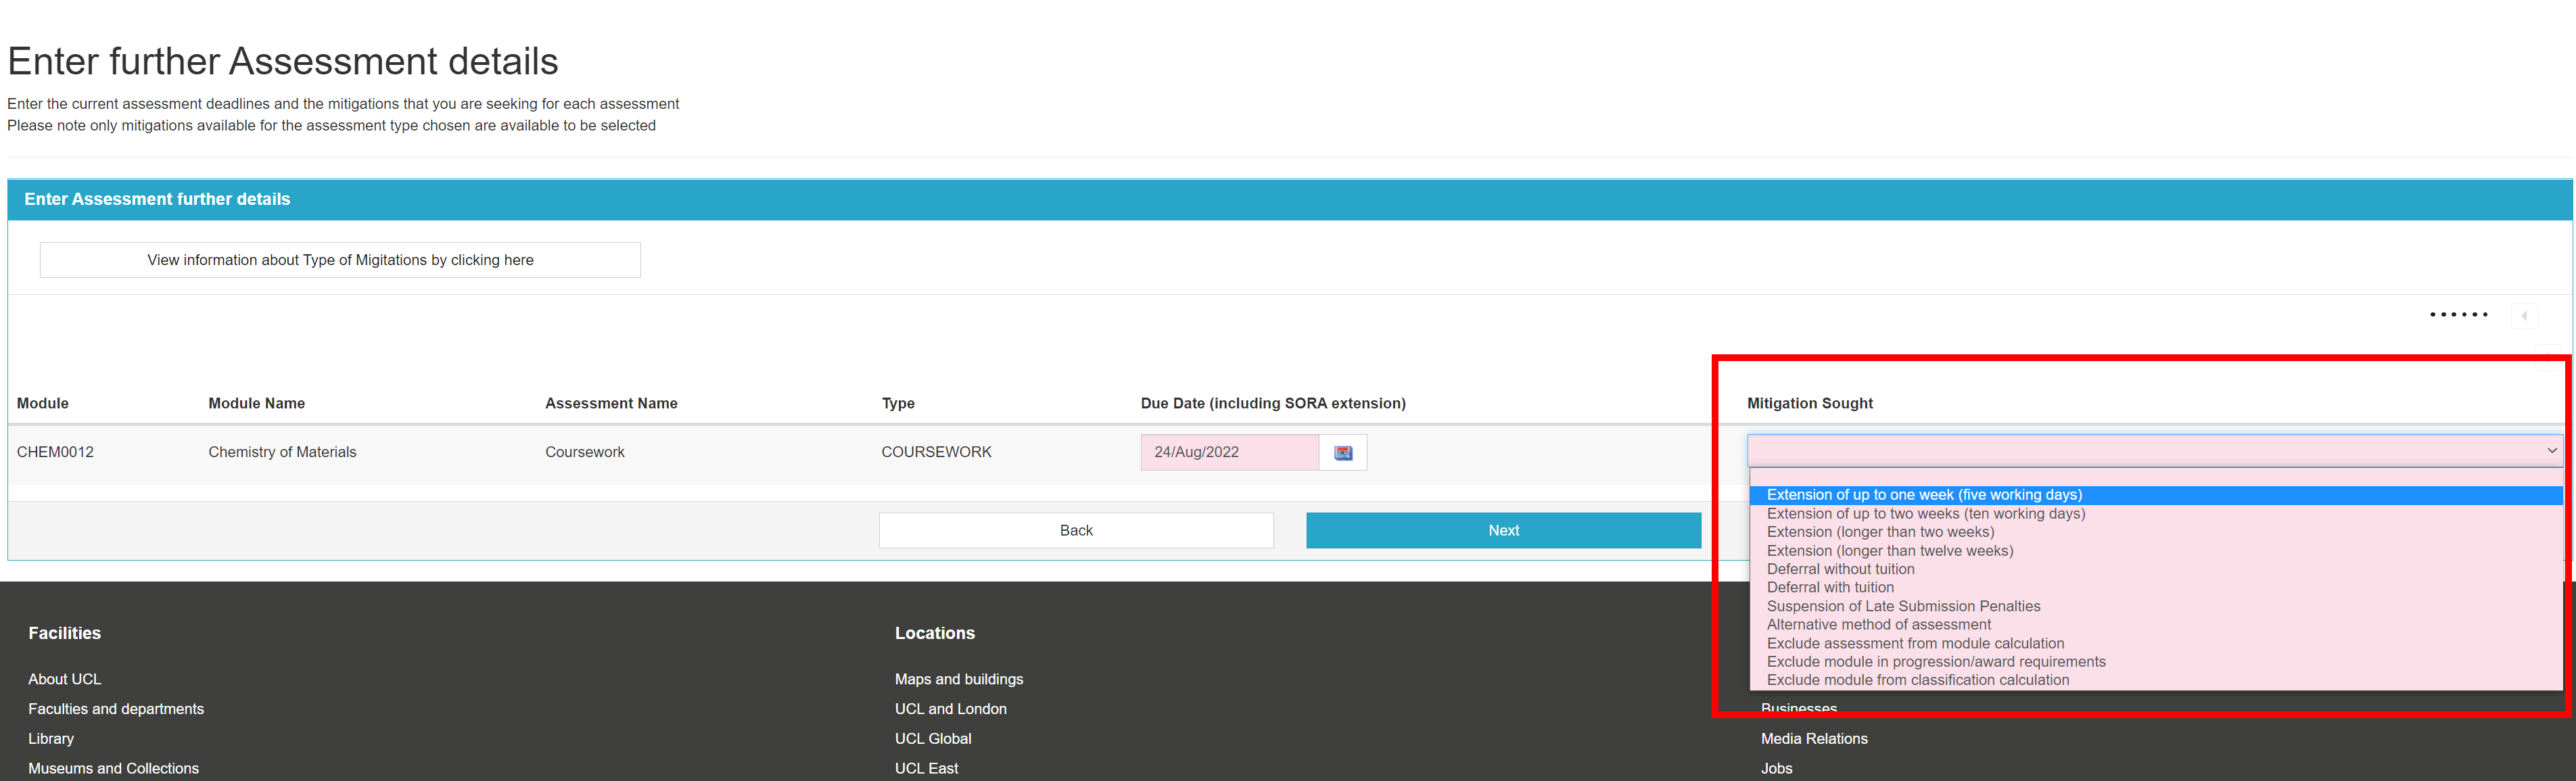
You now need to enter the due date of your assessment and the type of mitigation sought.
If you have a SORA extension, please enter your SORA deadline in the due date box.
Once you have entered due date and mitigation sought, click Next.
Note that this is your opportunity to select the mitigation you would like to receive but the panel reviewing your claim can use their discretion to change this and give the mitigation that they feel is best suited to your circumstances and the assessment.
Select from the dropdown box the nature of your circumstances.
Provide a summary of your circumstances in the relevant boxes (nature of circumstance, summary of circumstances and how the circumstances have affected the assessments).
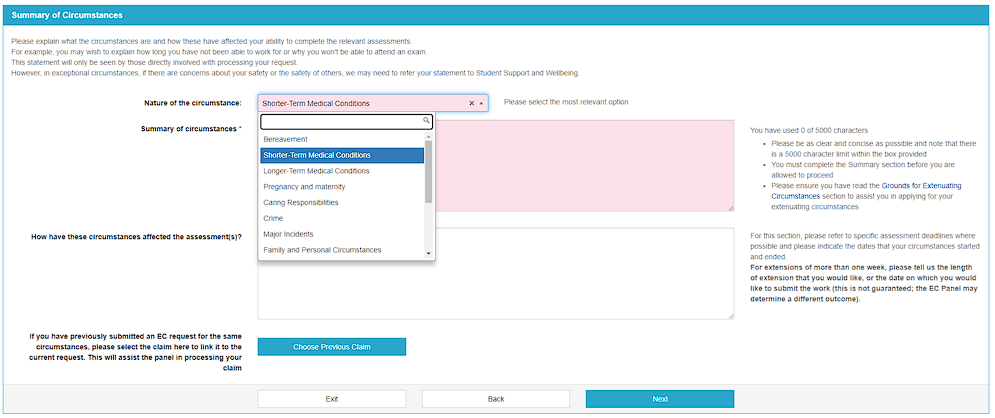
If you have previously received mitigation for this assessment, or your current circumstances are still ongoing from a previous EC claim, you can link the EC claim to a previous claim by clicking on Choose previous claim. This will flag to the Panel reviewing your claim that it is linked to another claim: this may be useful for them to see what happened and was discussed previously.
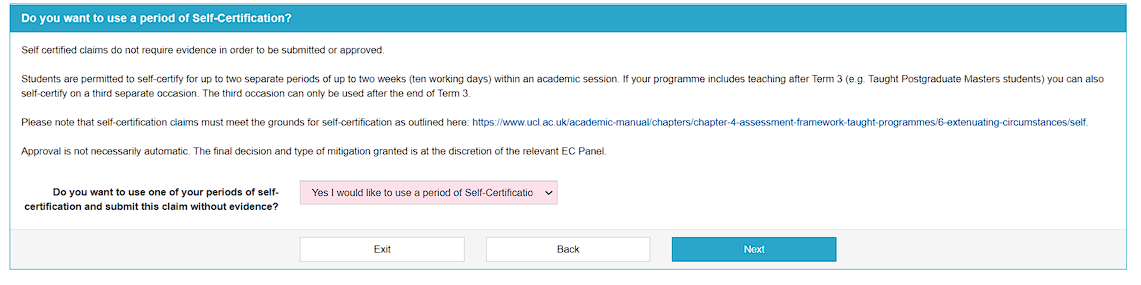
If your claim is eligible for Self-Certification, you will be presented with the option to self-certify this claim.
If you wish to Self-Certify then select “Yes I would like to use a period of Self-Certification” and click Next.
Please note, a self-certified claim should cover all impacted assessments within the 2 week period from the date of submission. When submitting your claim, you should make every attempt to include all assessments that are impacted in this 2 week period. Once a claim is approved, you cannot subsequently add assessments to this claim or submit new self-certified claims during the 2 week period. If you need to add an assessment, you should contact your department.
How to submit evidence for your EC claim
Please refer to section 1.5 Providing Supporting Evidence of the Academic Manual for guidance on when to provide evidence and requirements for medical and non-medical evidence. You should not upload photos of an injury to yourself, your physical symptoms or any other sensitive images which might cause disturbance or offence to others.
If you have evidence available when creating your claim:
Click the Browse and Upload Evidence button. Select the file that you want to upload from your computer and click Next.
Please note that only the following file extensions can be uploaded - .JPEG, .JPG, .PDF, .TIFF, .TIF, .PNG – and the maximum file size is 5MB.
MS documents (Word, Excel and PowerPoint) cannot be uploaded. Please refer to Microsoft’s guidance on how to convert a document to pdf.
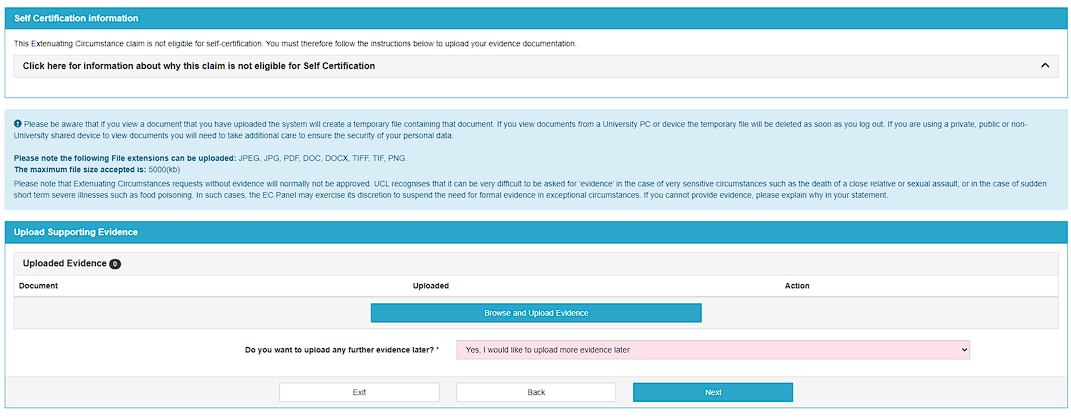
If you do not have evidence available, select “Yes I would like to upload more evidence later”. You should upload supporting evidence within 4 weeks of your claim submission date. You will receive an email notification to remind you to upload evidence 7 days before the end of the 4 week window.
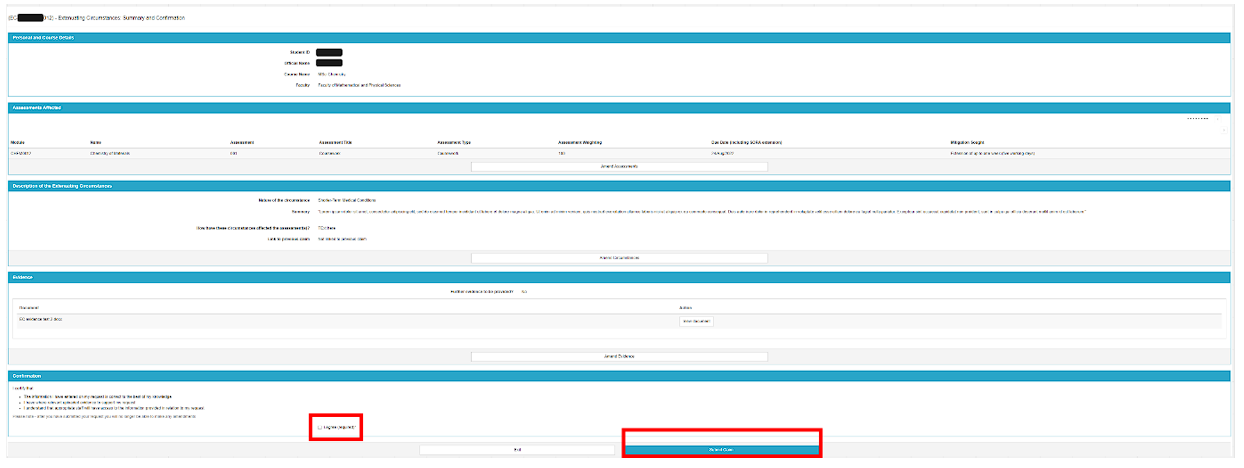
You will now be presented with the Summary screen – here you can review and amend your EC if required.
To submit your EC claim, select the tick box at the bottom of the screen to confirm the details you have entered are correct.
Click Submit claim
How to upload evidence later
You should upload supporting evidence within 4 weeks of your claim submission date. You will receive an email notification to remind you to upload evidence 7 days before the end of the 4 week window.
To upload evidence later, navigate to your Extenuating Circumstances homepage and click on Claims Awaiting Further Evidence – all claims you have submitted that are awaiting evidence will be listed.
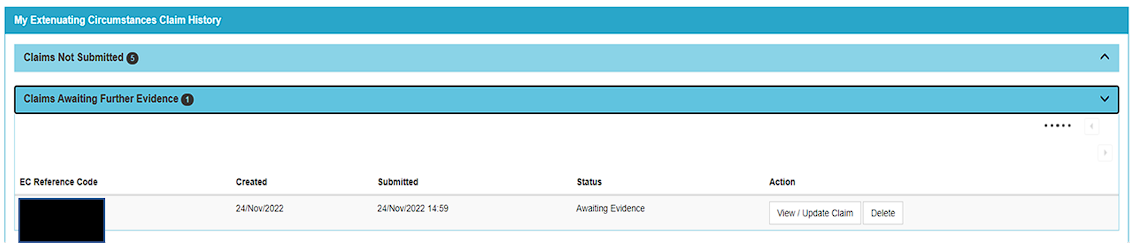
Click on View / Update Claim for the relevant claim to launch the claim details page.
You will now be able to check the details of the claim and add evidence as outlined above.
How to delete an EC claim
You can delete the following categories of EC claims:
- Claims not submitted
- Claims awaiting further evidence
- Claims under consideration
Please speak to your department if you no longer wish to use an EC Claim for which you have received a decision. Whilst completed EC claims cannot be deleted, accepted claims can be rejected so that the mitigations will not be applied.
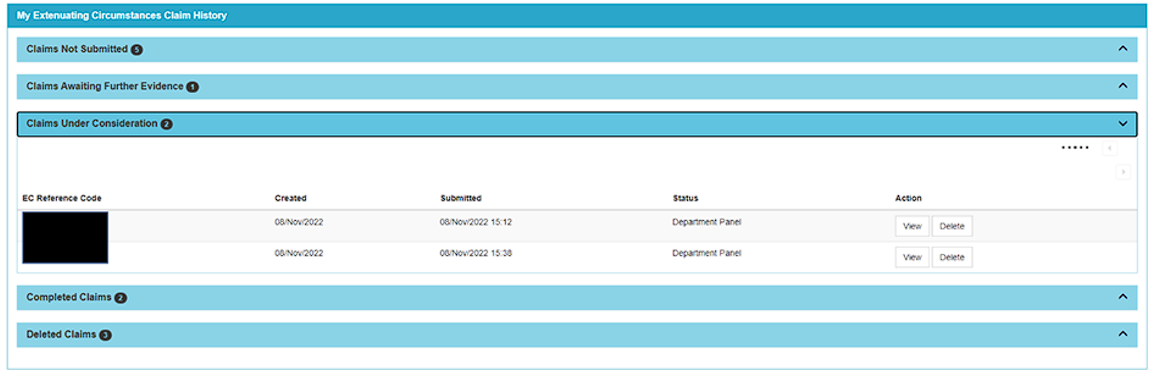
To delete a claim, navigate to your Extenuating Circumstances homepage and expand the relevant claim category section.
Locate the claim that you wish to delete and click the delete button on that row.
How to find out the outcome of your EC claim
Scroll down the page to the Completed Claims section
Select the EC claim and click View
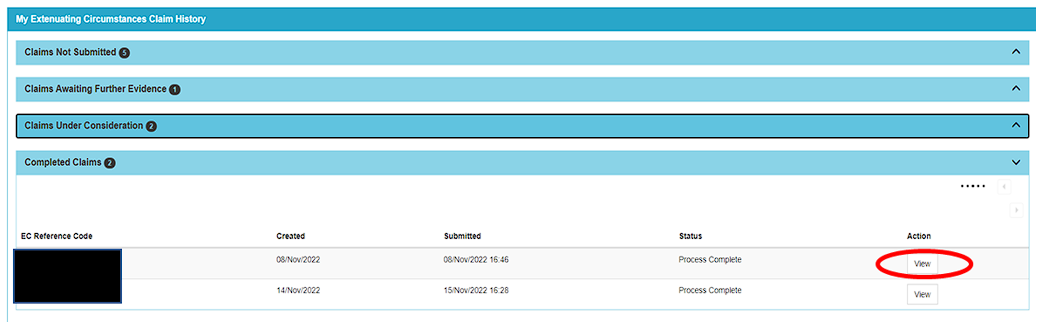
Here you will be able to view the decision and details of your claim, along with any notes from your Department, as soon as a decision has been reached.
A New Deadline Date will be shown for assessments where you have a new deadline for submission. You should also check the Notes for Student for any additional information about submitting your assessment, this may include a time. If no time is shown, you should assume that the original deadline time applies, e.g. if the original deadline was 10am and you have been given a new deadline date, you should submit by 10am on this new date. Please contact your department to clarify if you are unsure.
